3D Print Pegboard Tool Holders
It’s helpful to have a well-organized workspace. Knowing where to find a part or a tool saves time and frustration (not to mention saving money by not purchasing a tool only to realize you already had one). And having a clear area to work helps me to focus on the task at hand and improves the quality of the result. I’ve been working to create a better workshop space since we moved a few years ago. It’s coming along nicely with a workbench, pegboard, lots of storage, and an increasing number of tools and parts.
That said, I still need to find a home for a few things – small screws and fasteners, a few hand tools, and especially microcontrollers and associated small electronics parts. There was extra space pegboard and I decided I wanted to hang some frequently used hand tools – files, small screwdrivers, etc – for quick access. What a perfect project for TinkurLab’s new 3D printer!
I started by trying some existing 3D models from Thingiverse, however, these didn’t fit into my pegboard which is 3/16″ holes spaced every 1″. So I decided to do what any maker would – design my own 😉
A co-worker who also has a 3D printer recently told me about using Tinkercad for creating and editing 3D models. Tinkercad is an entirely web-based CAD editor which works on the premise of using simple shapes – boxes, spheres, etc – combined to make 3D models. A shape in Tinkercad can either be sold (additive) or a hole (subtractive). Combined with a few simple tools for aligning, joining, and measuring, Tinkercad seems like an easy to use tool for most basic 3D modeling needs.
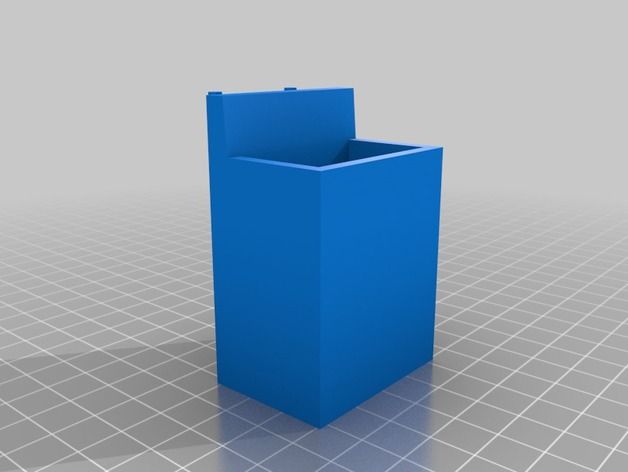
Knowing I’d likely need to iterate on the design a few times (aka trial and error), I decided to start by 3D printing the pegboard hooks on a small connective box. This allowed me to test the riskiest assumption quickly – the design, size, and spacing of the pegboard hooks. By only printing the hooks, I was able to print the part much more quickly without wasting 3D filament or time. After testing, the hook size and spacing were correct but the hooks needed a bit more vertical material to ensure they’d stay attached to the pegboard.
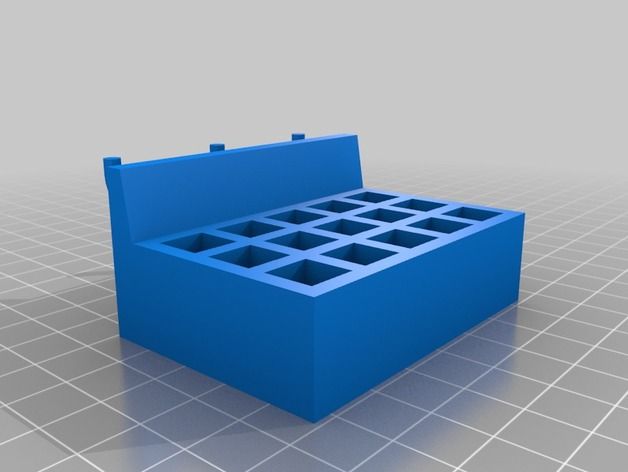
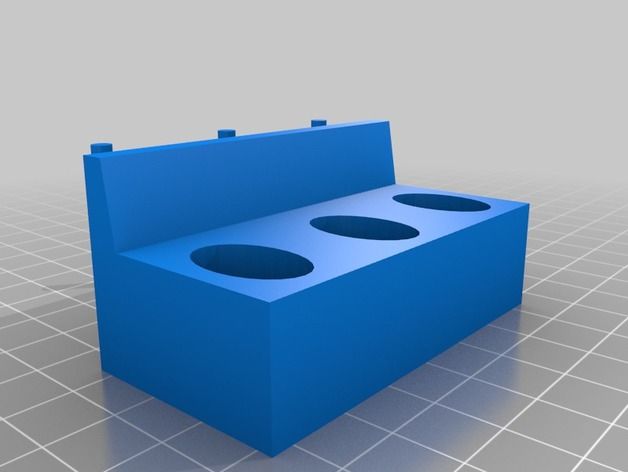
After adjusting the model, I printed a full 3D model of my small tool holder which was intended to hold small screwdrivers and drill bits. The full 3D print was a success with clean and sharp edges. However, when trying to hang it on the pegboard, I realized the hooks were too low on the back of the part. So as to not waste more time and material, I used a saw to remove a bit of the extra material and adjust the 3D model for future prints.
I hope to make a few more pegboard holders over time as the need presents itself. With the pegboard hook design validated, I can now quickly iterate on existing designs to meet additional needs.
You can find all my 3D models on Thingiverse, including the pegboard holders:
-Adam